
A Nightfarer's Guide to the Recluse in Elden Ring Nightreign
Master the best Recluse build in Nightreign with flexible elemental weapons, smart relics, and survival-focused expedition tactics.
The expedition began the way every Nightreign run begins: with a map full of rumor, a shrinking sky, and no promise that the Recluse would find the tools she needed. She was not a knight who could trust a single sword, nor a guardian who could hide behind a wall of armor. She was a spellcaster with a dangerous gift, a fragile frame, and a team depending on her elemental control. In 2026, the randomized expedition structure still rewards flexibility above all else, and the best Recluse build is less a fixed checklist than a plan held loosely in one hand while the other hand reaches for whatever the run provides. A good plan and a little luck can carry her to the Nightlords, but only if she learns to read the expedition as it unfolds.
🗺️ Read the Run Before Building the Recluse
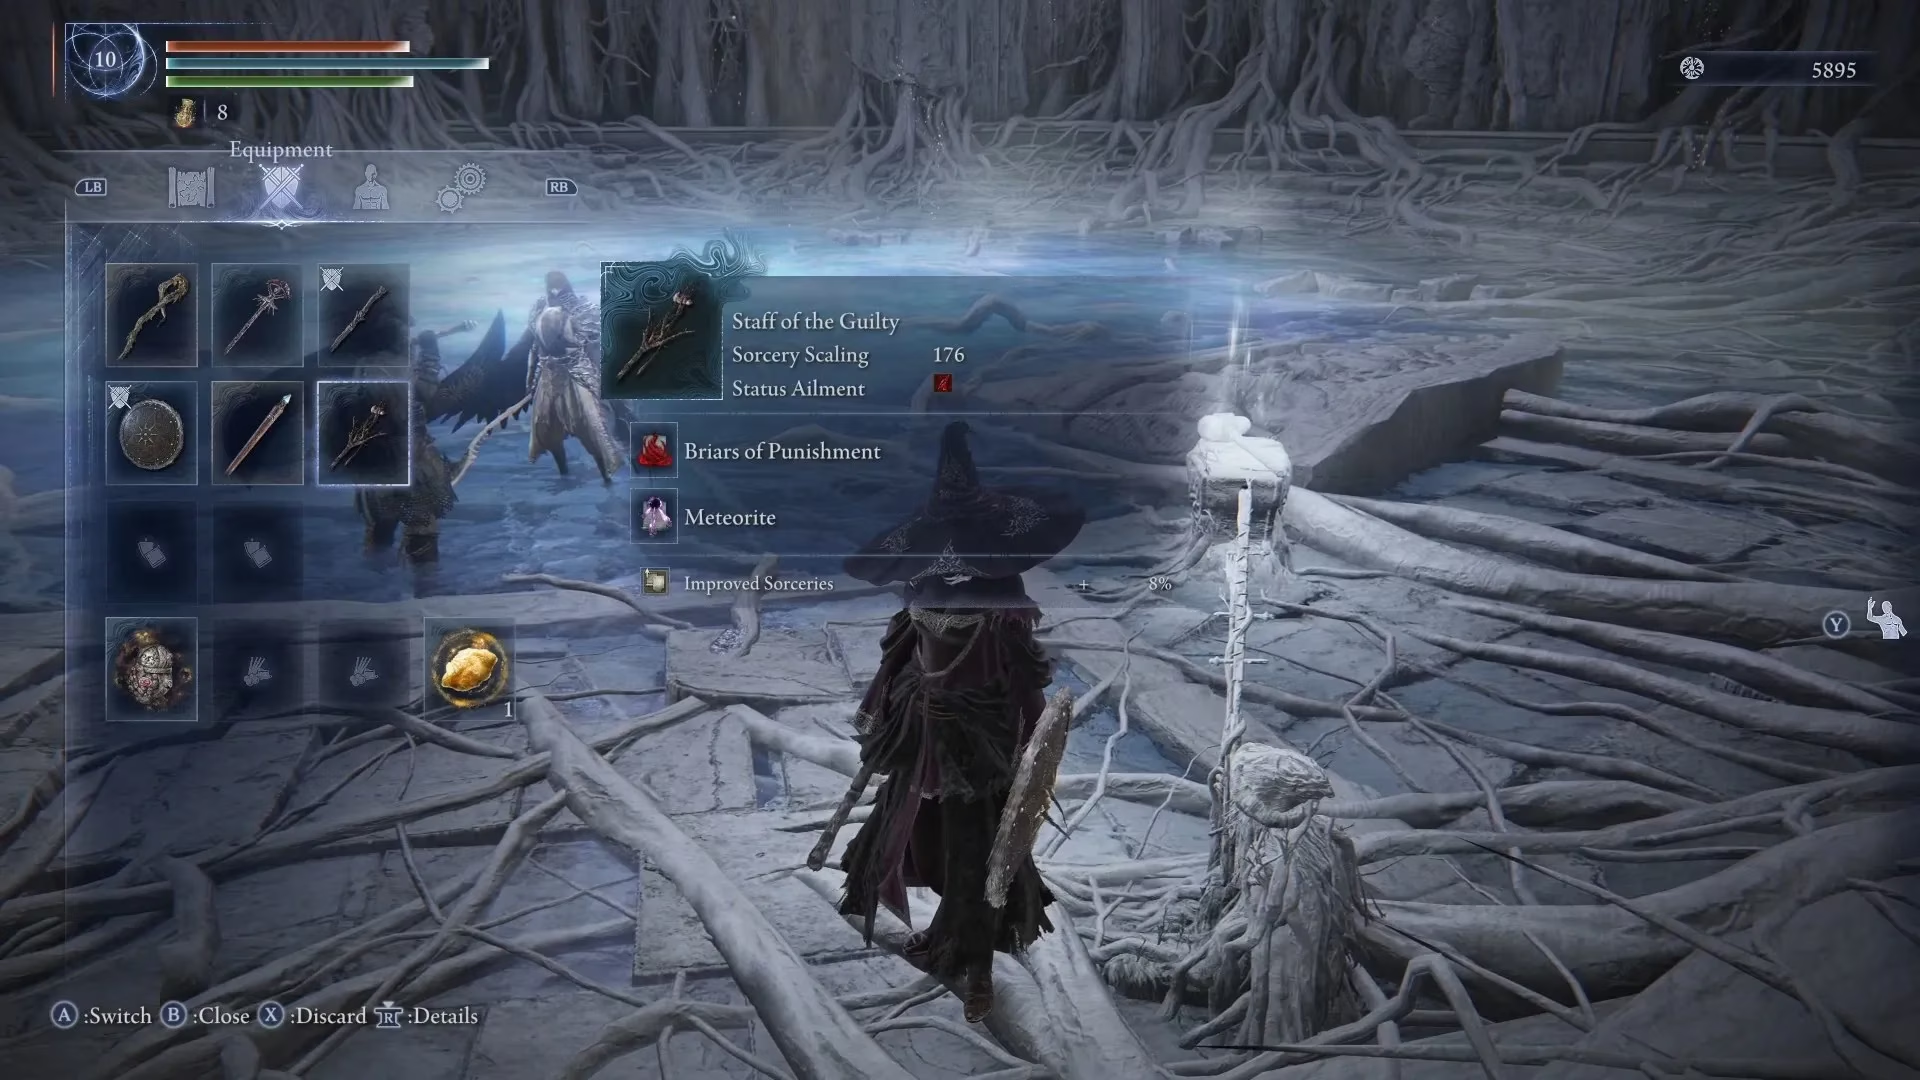
The Recluse does not get to bring much on an expedition, and most of what she finds is randomized. That truth shapes every decision. Each Nightlord has an element they are weak to, and that weakness should become her priority when sorting through drops. A perfect spell in the wrong element is still a slow answer to a fast problem. She should look for staves, seals, and even throwing pots that match the damage type the team expects to need, then build around the combos she can reliably create. Some expeditions will go better than others, so an inventory full of options is always better than empty pockets. Every character, Recluse included, can use a variety of weapons, passives, and talismans, and experimentation is not a luxury here. It is part of the job.
🔮 Relics: Keep the Ones Marked for the Recluse
There are many relics in Nightreign, but some offer unique affixes for the Recluse. Those relics are marked with [Recluse], and she should hold onto them. A relic that raises max HP when her ultimate art activates can turn a desperate marking tool into a sudden cushion of survival. One that activates Terra Magica when she collects affinity residue can reward the very habit she already needs. One that makes her suffer blood loss and gain attack power upon art activation is riskier, but it can fit a player who knows how to trade danger for tempo.
Other useful relics include magic attack power up, ultimate art gauge up, FP restoration upon successive attacks, improved resistance or damage negation matching the Nightlord's damage type, increased rune acquisition for herself and allies, rune discounts for shop purchases while on expedition, items that confer effects to nearby allies, HP restoration when using cured meats and medicinal boluses, more Art gauge from defeating enemies, and stat boosts to vigor, mind, intelligence, faith, or endurance. The right relic is often the one that solves the next fight, not the one that looks strongest in isolation.
🪄 Weapons: Staffs, Seals, and a Shield
The Recluse can use melee weapons, but she should usually stick to staves and Sacred Seals to keep herself at a safe distance. A shield is a good option too, especially when a boss closes the gap faster than expected. Weapon passives matter enormously because their effects work while the weapon sits in her inventory, unless the weapon is marked with a red hand and must be equipped. That means she can carry utility without sacrificing her casting setup.
The best weapon passives to pick up include reduced spell FP cost, improved magic attack power, improved holy attack power, improved spell casting speed, improved sorceries, improved charged sorceries, less likely to be targeted, damage negation up while casting spells, critical hit FP restoration, taking damage restores FP, improved damage negation at full HP, FP restoration on attacks, improved damage negation matching the Nightlord's affinity, HP restoration from defeating enemies, and improved item discovery. Some are situational, but in a randomized run, situational tools are often the difference between a clean recovery and a collapsed expedition.

💎 Talismans: Small Objects, Large Swings
As she explores the map, the Recluse can find talismans that provide powerful passive effects. Forts even have maps that reveal nearby scarabs that drop them. The best talismans for her, in order, are the Cerulean Amber Medallion for maximum FP, the Crimson Amber Medallion for maximum HP, the Graven-school Talisman for sorcery damage, the Faithful's Canvas Talisman for incantation damage, the Old Lord's Talisman for longer sorcery and incantation duration, the Radagon Icon for shorter cast speed, the Ancestral Spirit's Horn for FP restoration upon defeating enemies, the Taker's Cameo for HP restoration upon defeating enemies, the Ritual Shield Talisman for improved damage negation at full HP, the Blessed Dew Talisman for continuous HP recovery, and the Viridian Amber Medallion for improved stamina recovery. She should not ignore a humble talisman just because a flashier one appears later.
🧪 The Magic Cocktail
The Recluse has one of the most complicated mechanics in Nightreign. Elemental attacks against enemies and allies can be pulled off them to restore some FP and mix into her Magic Cocktail. Once she has gathered three elements, she can activate the skill for one of several effects. Coordination with her team makes this easier, but she cannot always rely on it. The most reliable effects can be created with one element or a mixture of two, so she should look for staves, seals, and throwing pots with the right elements and build around what she can consistently produce.
| Elements | Effect |
|---|---|
| Fire | A short-ranged blast of fire |
| Holy | A short buff that reduces damage taken |
| Magic and Fire | Sends out a flame that chases enemies and deals damage |
| Magic and Holy | Creates an aura around her that preserves FP for her and her allies |
| Fire and Holy | Raises max HP, reduces status buildup, and reduces nearby enemy HP |
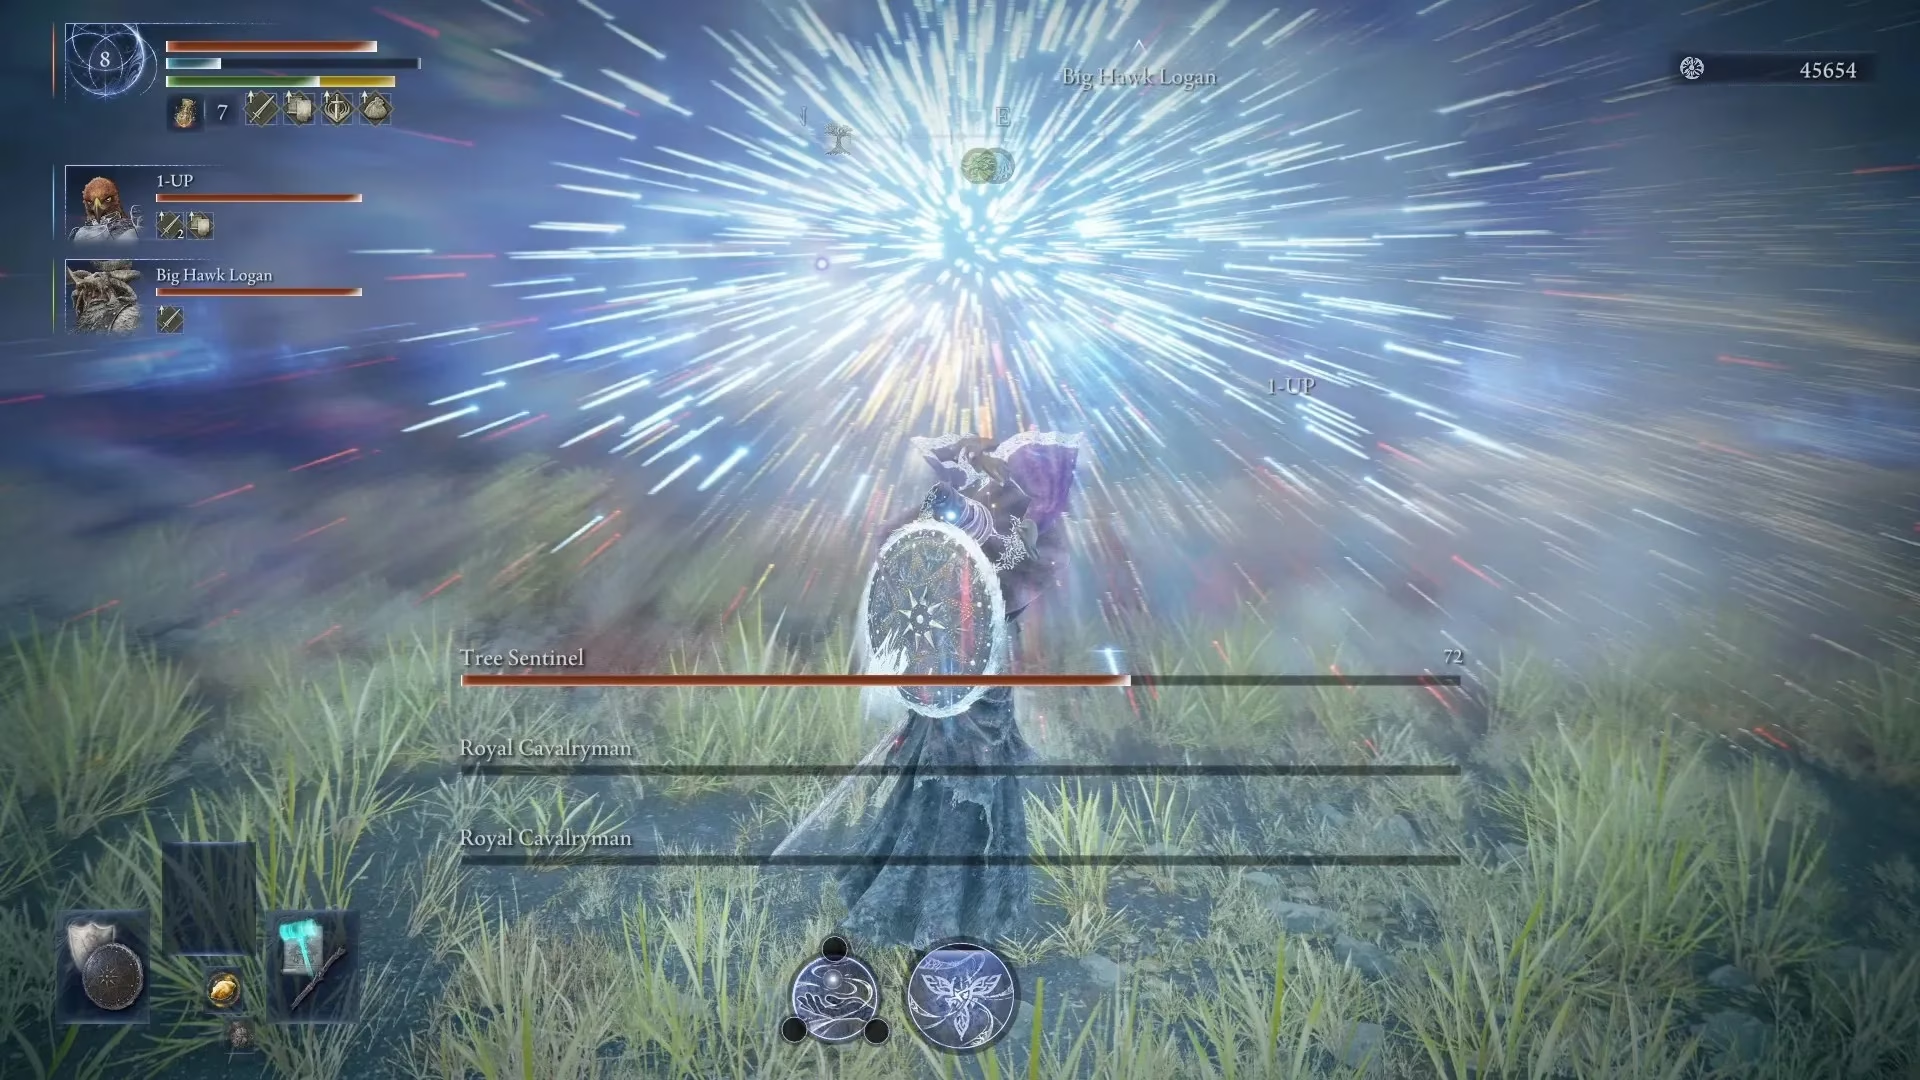
| Magic, Fire, and Lightning | Creates a giant orb that sucks enemies in and explodes for lots of damage |
| Magic, Lightning, and Holy | Creates a cold storm and gives her temporary invulnerability |
📊 Stats and Tempo
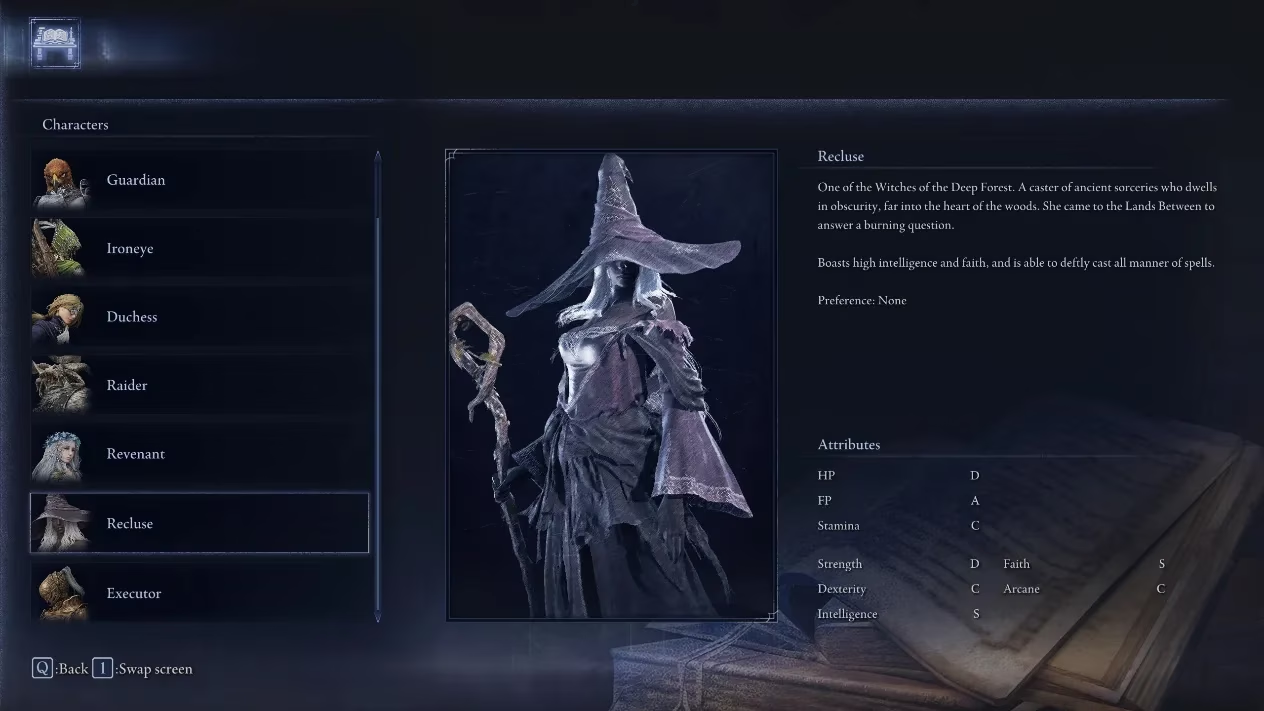
The Recluse boasts high intelligence and faith and can deftly cast all manner of spells. Her HP is low, her FP is exceptional, her stamina is average, her strength is low, her dexterity is average, her intelligence and faith are supreme, and her arcane is average. That stat spread tells a clear story: she wins by casting, not by trading blows.
| Stat | Grade |
|---|---|
| HP | D |
| FP | A |
| Stamina | C |
| Strength | D |
| Dexterity | C |
| Intelligence | S |
| Faith | S |
| Arcane | C |
⚔️ Playing the Recluse in 2026
FP is the hardest thing to manage on the Recluse because Nightreign does not have flasks for it. Her skill restores a small amount of FP every time she uses it, so she should use it on every enemy she can. She should also check camps and churches for Starlight Shards and ask her teammates to save theirs for her. Those shards are particularly useful during boss fights when she cannot always find a safe moment to use her skill. Her ultimate causes nearby enemies to take extra damage and restores HP and FP when she or her teammates attack them, so the best time to use it is halfway through a fight, when the team needs a top-off and the boss might be staggered for devastating critical hits. Bows are also extremely useful. They help when she is out of FP, and they can revive teammates from a distance during chaotic boss fights. The Recluse spins many plates, but that is the point. She is not a fixed build. She is a conversation between the run, her team, and the elements she can pull from the air.