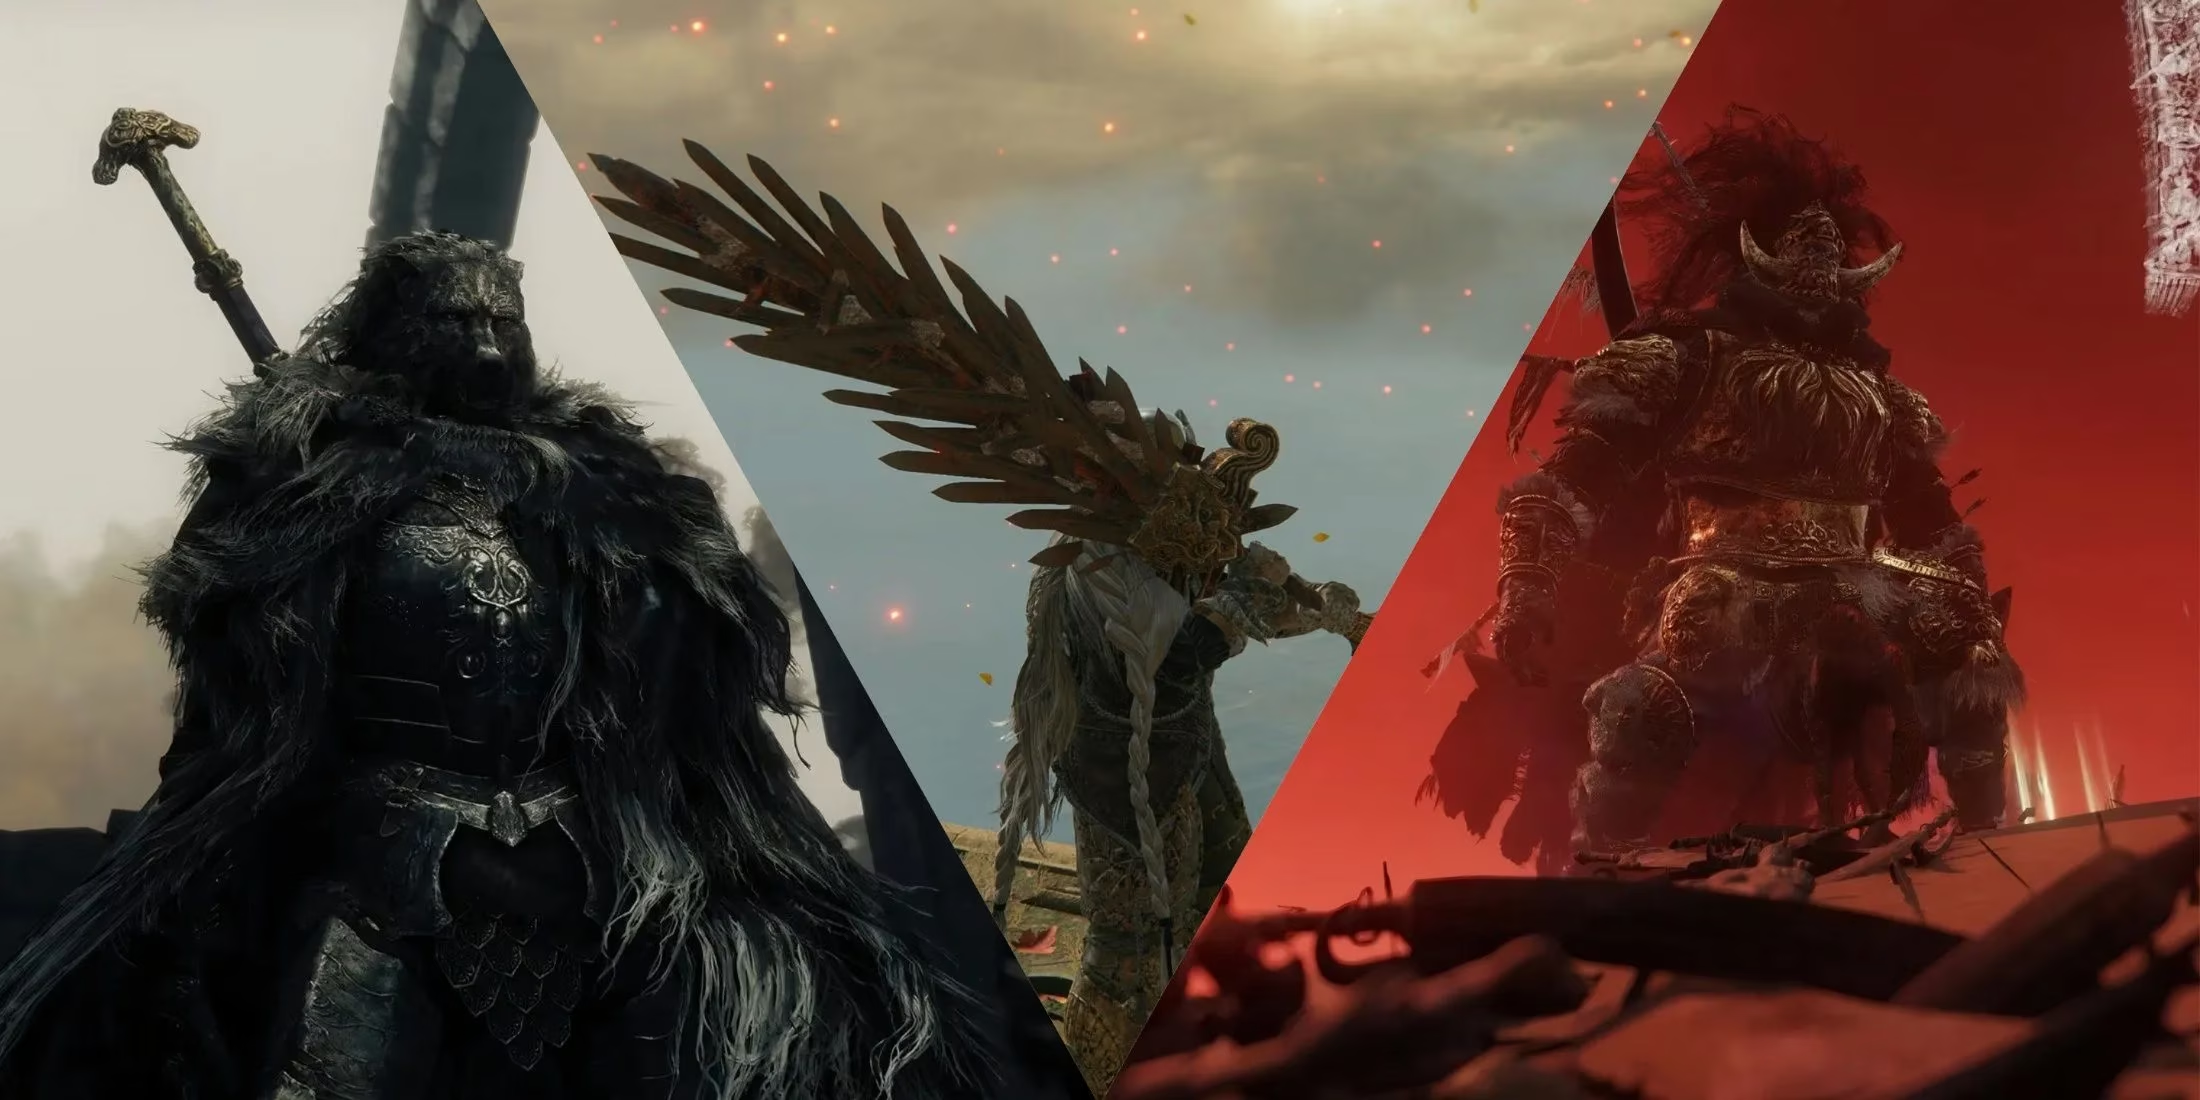
Top Talismans to Unleash the Full Potential of Your Greatsword in Elden Ring
Discover the ultimate talismans for greatsword builds in Elden Ring: Shadow of the Erdtree to unleash devastating power and unstoppable force.
As a veteran Tarnished who has spent countless hours mastering the art of colossal weaponry, I can confidently say that a greatsword is more than just a piece of sharpened metal; it's a statement. In the unforgiving Lands Between, wielding one of these behemoths is a commitment to a specific, impactful playstyle—one of deliberate power, staggering blows, and overwhelming force. However, the true potential of a greatsword is rarely unlocked by the weapon alone. It's the synergy between blade and accessory that transforms a heavy hitter into an unstoppable force of nature. Having tested countless builds and faced every challenge the base game and the Shadow of the Erdtree expansion have to offer, I've curated the ultimate list of talismans that are essential for any greatsword wielder looking to dominate in 2026.
The Foundational Buffs: Amplifying Your Core Power
Every greatsword build needs a solid foundation. These talismans enhance the fundamental aspects of your combat style, ensuring your strikes hit with the devastating force they're meant to.
-
Godfrey Icon: This is non-negotiable for any skill-focused greatsword, like the iconic Dark Moon Greatsword. That 15% boost to charged skills turns powerful attacks into boss-melting beams of energy. I secured mine from Godefroy the Grafted early on, and it remained a staple in my loadout through the final echoes of the DLC.
-
Axe Talisman: Don't be fooled by the name! This unassuming trinket, found in the Mistwood Ruins cellar within minutes of starting, grants a reliable 10% boost to all charged heavy attacks. For a greatsword user, holding that R2 for the perfect release is a core mechanic, and this talisman makes that patience pay off enormously.
-
Two-Handed Sword Talisman: This is the crown jewel for pure greatsword enthusiasts. Depicting a figure wielding a massive blade, it delivers a staggering 15% damage increase simply for two-handing your weapon. I battled through the Temple Town Ruins in the DLC to claim it, and the power spike was immediately evident. It feels like this talisman was crafted specifically for our playstyle.
The Engine Room: Managing Your Resources
Greatswords are stamina vampires. Swinging, dodging, and maintaining aggression requires meticulous resource management. These talismans ensure you're never left gasping for air at a critical moment.
| Talisman | Primary Effect | Key Location | Why It's Essential |
|---|---|---|---|
| Green Turtle Talisman | Greatly raises stamina recovery speed by 22.5% | Waterfall Cave, east of Rivermouth Cave (DLC) | Turns your stamina bar into a rapidly refilling reservoir, allowing for relentless assault. |
| Erdtree's Favor +2 / +3 | Raises Maximum HP, Stamina, and Equip Load | Various (Best: +3 in DLC midpoint) | The increased stamina pool is invaluable. The +3 version from the DLC is a game-changer for endurance. |
I cannot overstate the difference the DLC's Green Turtle Talisman makes. That near-instantaneous stamina regeneration transforms your combat rhythm. You can chain jump attacks, heavy slams, and still have the endurance to dodge a retaliatory strike. Pair it with a massive stamina bar from Erdtree's Favor +3, and you achieve a level of sustained pressure that most enemies simply cannot handle.
The Aggression Enablers: Specialized Playstyle Boosters
Once your foundation is solid and your engine is humming, it's time to specialize. These talismans cater to specific, high-impact tactics that greatswords excel at.
-
Claw Talisman: Found early in Stormveil Castle, this talisman unlocks the true power of jump attacks. For greatsword users, especially those who powerstance two greatswords (a technique I highly recommend acquiring a second copy for), jump attacks become your primary source of burst damage and posture breaking. The 15% damage boost turns every leap into a potential fight-ender.
-
Shard of Alexander: The quest to help the jovial pot warrior, Iron Fist Alexander, is long but utterly rewarding. This talisman boosts the attack power of all Skills by 15%. When combined with the Godfrey Icon, the buffs to skills like Wave of Gold or Lion's Claw become multiplicative in their devastation, making short work of endgame and DLC bosses.
-
Poiseflask Talisman (DLC): A brilliant addition for aggressive players. Found near the large golden tree in Shadow Keep, it increases your poise after drinking from your Flask of Crimson Tears. This means you can heal mid-fight and immediately return to swinging your greatsword without fear of being interrupted by a light hit. It turns a defensive action into an offensive opportunity, perfectly suiting the "trade hits" mentality that heavy weapons often employ.
Building Your Loadout: A Personal Blueprint
After extensive playtesting, my go-to setup for a relentless, aggressive greatsword build in the current meta looks like this:
-
Core Damage: Two-Handed Sword Talisman & Godfrey Icon (for skill-based swords) or Axe Talisman (for charged R2 focus).
-
Stamina Engine: Green Turtle Talisman & Erdtree's Favor +3.
-
Flex Slot: This is where I adapt. For general exploration and bosses with big openings, the Claw Talisman for jump attack spam. For duels or bosses where I need to heal aggressively, the Poiseflask Talisman is a lifesaver.
Remember, the beauty of Elden Ring is in the experimentation. The talismans listed here represent the pinnacle of synergy with greatswords, but don't be afraid to mix and match based on the unique Ash of War on your blade or the specific boss you're facing. The goal is to create a build where every colossal swing feels impactful, every trade is in your favor, and the weight of your sword becomes the force that shatters the very foundations of the Lands Between. Now, go forth, Tarnished, and let your blade speak with the thunderous voice these talismans will grant it.